


¡Hola profe! How’s the start of the year been going? I hope you and your students are adjusting well and having a great time getting to know one another and getting back into the routine!
This week, I wanted to talk about some of my favorite activities for the introductory/preliminary unit of Spanish 1. While we all might use different curricula for Spanish 1, I’ve found that the introductory unit generally covers the same topics: greetings and good-byes, asking for and stating names, asking and answering, “How are you?”, saying where they are from, days of the week, numbers, and the alphabet. These are important topics for students to know, but with students’ Spanish vocabularies being limited at this stage of their learning, your day-to-day practice activities in the classroom can seem repetitive after a while. So, if you’re looking for new activities to help reinforce these concepts, here are some suggestions.
#1: Print or Digital Task Cards.
I love task cards because they are interactive and engaging for students, and there are SO MANY different ways to use them! If you have never used task cards before, they are easy to make. Basically, you take an index card and write a question or prompt on it that is related to the introductory topics you’re studying. For example, you could write, “Hoy es lunes. Mañana es _________.” If you want, you can also type them and print them out – this is a great option if you want to add images, but don’t want to draw them yourself! I recommend numbering your task cards – this is helpful for organizational and review purposes.
Once you’ve made all your cards (I think 30-40 is a good number), the possibilities for using them are endless! Here are some ways I like to use task cards with my students:
- Greet students at the door to begin class. Show each student a task card from the stack, which they will need to answer. After they answer correctly, they can go inside!
- Hang task cards up around your classroom or in the hallway outside your classroom. Have students move around and write down the answers to the questions. You can make it so that different students have different questions to answer at certain times (for example, boys answer odd numbers and girls answer even numbers, then have them switch after a set amount of time) – this can help avoid crowding at the cards.
- Put students in pairs. Divide up your task cards and distribute a few to each pair. Students should hold up a card for their partner to answer. (For this, is it helpful if you have the answer, or if it is an open-ended question, the way the answer could be structured, on the back or on a separate sheet of paper, so that students can be sure their partners are responding correctly.)
- Tape the task cards to your board to make a Jeopardy-style trivia game. Assign each card a points value. Divide students into teams, and then have students come up to the board and take a card to earn points for their teams. This is a fun way to review before a test or quiz!
- Give each student a task card to answer as an exit ticket at the end of the class period. This provides great formative assessment data to you, so you can see what your students understand well and where they might need additional support!
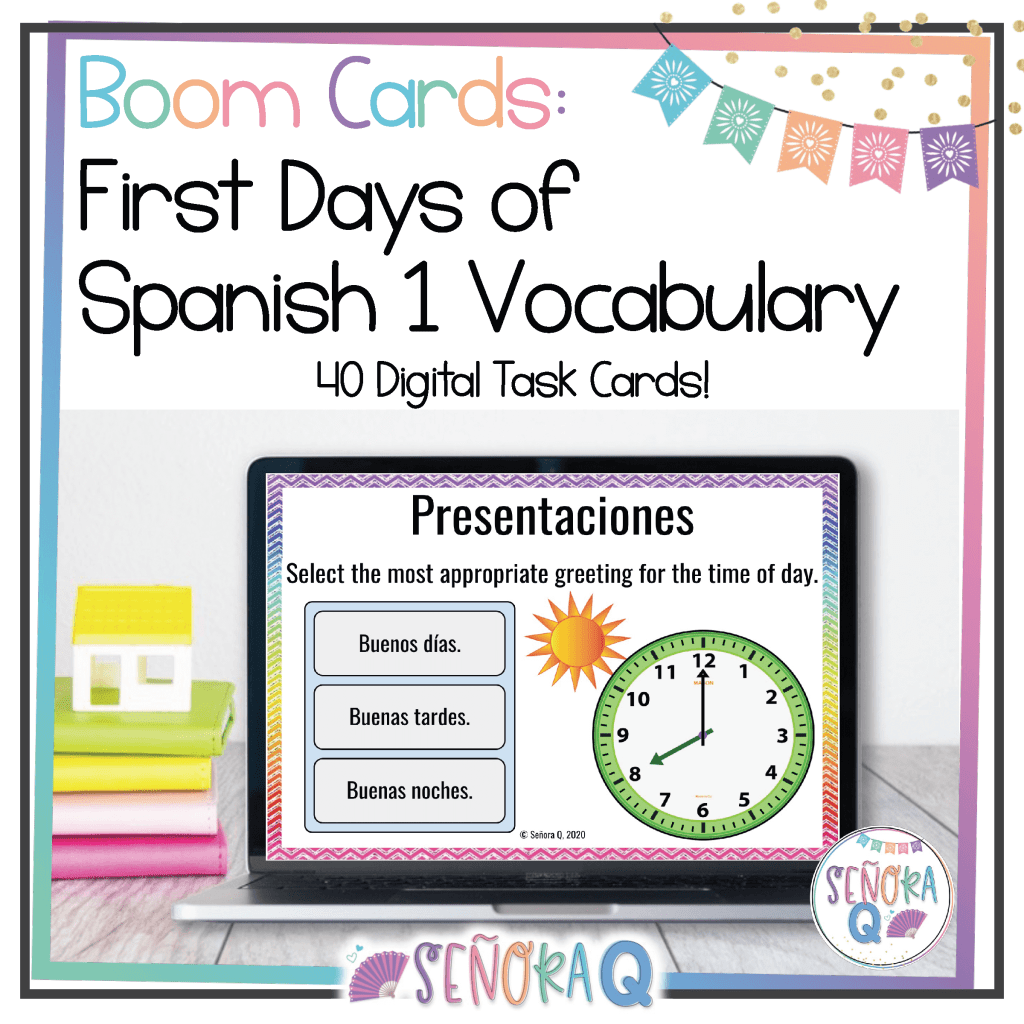
Let me save you time, profe! Check out this FREE Boom Cards set that contains 40 digital task cards related to Spanish 1 introductory topics! You can also print these task cards right from the Boom Learning website to have hard copies to use with your students!
#2: Dialogue Scrambles.
Dialogue scrambles are a really fun way to practice introductory content, and there are lots of ways you could set up this activity! What you’ll need are brief dialogues, maybe 6 lines or so, between two people, using phrases that students have learned in their introductory unit. Then, put the lines of conversation in random order, and have your students unscramble them to put them in the most logical order!
Here are some ideas for how to set up your dialogue scrambles activity:
- Paper and pencil. Type up your scrambled dialogues and have your students write the dialogue in its correct order on the bottom of the paper. You could also have students number the sentences, indicating their chronological order.
- Make conversation strips. Type up your dialogues, and then cut the sentences from each dialogue into strips. Keep each dialogue’s strips separate from the others by using a paper clip or rubber band to hold the strips together. Place the strips from each of the 7 dialogues into an envelope. When you are ready to complete this activity in class, give each student an envelope. Then, have students place the strips in a logical chronological order.
- Unscramble the dialogues digitally. I like to use Google Slides for digital dialogue scrambles! On each slide, type up the lines of one dialogue in a random order, using the text box feature. Share a copy with your students, and have them move the text boxes around so that the conversation shows up in a logical order.
If you like the idea of dialogue scrambles, check out this ready-to-use dialogue scrambles activity with multiple print versions and a digital version included! The dialogues can be edited to match with your curriculum, if you need!

#3: Introduce Yourself Project.
Have students make a print or digital poster about themselves – they can say their names, where they’re from, how they are doing, how old they are, and anything else that they learned in their introductory unit! They could also introduce a friend or family member, if they learned how to do so. If you wanted, you could have students present to the class. You can also hang up the posters around your classroom to help students get to know each other!
I really like this activity because it allows students to feel a personal connection with the material they’re studying, as they can use it to talk about themselves and others that they know. It also puts the ownership of practicing the material on students, not on you!
If you like this idea, you can grab this ready-to-use resource that contains assignment directions for students, scoring rubric, and active listening sheet for optional student presentations!

#4: Alfabeto Spelling Game.
Every year, I introduce my students to a spelling game that they have dubbed “Alfabeto.” I cannot take credit for inventing this game – I learned it from a former colleague, who learned it from her cooperating teacher. I am SO grateful that my colleague showed me this game, as it quickly becomes a student favorite every year. The best part is that, once you have your set of alphabet cards, there is ZERO PREP REQUIRED!
The purpose of “Alfabeto” is to have students spell words in Spanish. This game helps reinforce letter pronunciation while also providing practice with their new vocabulary terms!
The first thing that you need to play “Alfabeto” is two sets of alphabet cards. I made my alphabet cards in about 5 minutes! You need 27 pieces of construction paper or card stock in 2 different colors, so that you can have two teams. Then, you simply write one letter of the Spanish alphabet on each card, as big as you can! (I personally do not include any digraphs like “ll” or “ch”, but you could certainly include them if you wanted to!) You will also need a mini white board, a dry-erase marker, and an eraser when it is time to play.
So, how do you play “Alfabeto?” Well, I first divide the desks in my classroom into two groups that are facing each other. I place all students into one of two teams, making sure it’s an even split. Students sit down at a desk in the appropriate group.
I then distribute alphabet cards to students. Each team has its own set of alphabet cards that will be divided evenly among team members. Depending on the size of the class, students typically get 2-3 cards. Students are responsible for the letters on the cards that they have, and they have to know how to say the letters correctly.
I sit in the front of the two groups so that I can see everyone. I keep the mini white board, the marker, and the eraser with me so that I can keep score and keep track of what the students say. Depending on the level of the class, I will give them a vocabulary word in English or a description of the vocabulary word. For example, I might ask them how to say “Monday” in Spanish, or ask them what day comes after domingo. The student who has the letter “l” on each time is trying to be the fastest to raise the alphabet card in the air and say the name of the letter in Spanish. The person who is first gets a point for his/her team, and provides the opportunity for the team to win a second point by spelling the rest of the word correctly. So next, the student with the letter “u” must raise the card in the air and say the letter name, then the student with the letter “n,” and so on and so on until the word has been spelled. As students spell, I write the letters on the white board so that the teams can keep track of where they are.
If a team misspells the word, the other team has the opportunity to spell the word correctly from the beginning to earn the point.
The rub? Teams CANNOT verbally communicate with one another while they are trying to spell a word. They can use gestures like pointing and nodding, they can write the letters in the air with their fingers, and they even use sign language sometimes! They are NOT allowed to touch another teammate’s letters, however. Doing so, or using verbal communication, will forfeit play to the other team. Students get very creative in how they communicate with their teams!
I have my students swap their letters with another player on their team after a few rounds to give them the chance to practice with different letters.
Game play can last for as long or as little as you like! Because of the physical set-up involved, I usually play for 20-25 minutes.
Your students are going to LOVE this game, promise! And once you see it in action, you will too!
I hope this was helpful! Please feel free to leave me a comment or send me an email if you have any questions! Have a wonderful week, profe!
